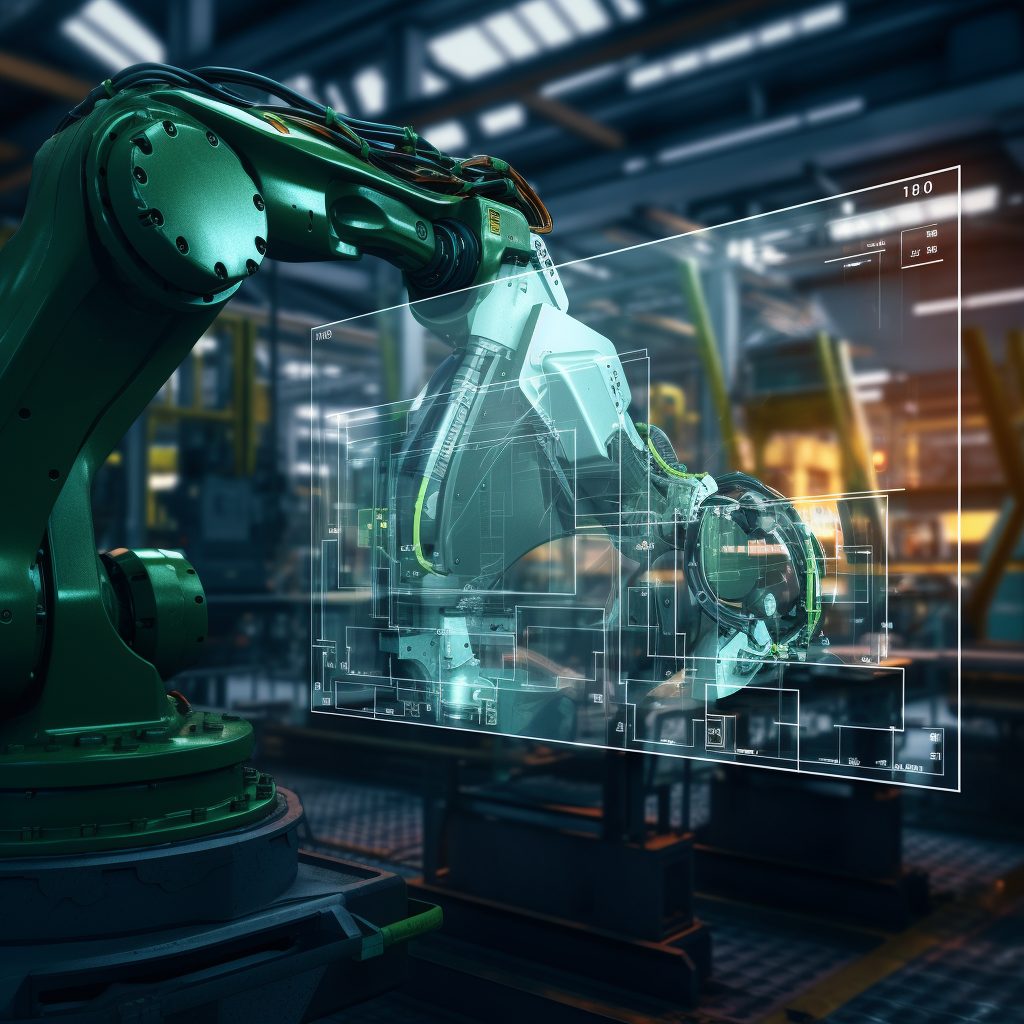
Robots & 3D vision:This inspection is volumetric in nature, for metallic and non-metallic materials, and is capable of locating, by means of validated inspection procedures in accordance with current regulations, defects such as pores, lack of fusion, cracks, delamination or lack of bonding. This type of inspection is carried out using advanced optical equipment based on stereo systems, structured light or linear lasers for the 3D reconstruction of the part. Furthermore, the equipment has data logging capabilities and can be easily coupled to commercial robotic systems to improve reliability and probability of detection (POD).
Ultrasonic Robots: Robotised quality inspection using advanced Ultrasonic Techniques such as Phased Array or Guided Waves. This inspection is volumetric in nature, for metallic and non-metallic materials, and is capable of locating, by means of validated inspection procedures in accordance with current regulations, internal defects such as pores, lack of fusion, cracks, delaminations or lack of bonding. This type of inspection is carried out using advanced ultrasonic equipment with a high data recording capacity that can be used to generate 2D images of the inspected area. Such equipment is easily coupled to commercial robotic systems to improve reliability and probability of detection (POD).
Robots and thermography. Robotic integrity inspection system using thermal camera techniques. Thermography is an innovative, clean and non-destructive defect detection technique that is enjoying great development. Two inspection techniques are offered: passive and active. In the passive technique, the heat generated in a process is used to detect defective areas that accumulate heat. Passive inspection requires external excitation (laser, halogen lighting, induction, flash, etc.). The inspection can be both superficial and volumetric, depending on the material and the excitation, and is applicable to metallic and non-metallic materials. Detectable defectology ranges from surface cracks or pores to delaminations or internal bonding faults. A basic equipment consists of a thermal camera and an excitation source (in the active case), making it easily attachable to robotic systems.

